Last Updated on April 13, 2022
Online video is one of the best forms of content to convert audiences into high-quality leads and paying customers. A great example of this would be whiteboard explainer videos and how they are used to explain how a product or service works, through the use of moving images and voice overs.
In the world of online marketing, keeping your audience engaged and coming back for more is key to continually improving conversions and ROI. In fact, statistics show that the average person needs to see an advertisement 5-7 times before they actually follow through and complete a purchase — however, results may vary based on the industry you are in. With all of this in mind, newsletters and mailings are one of the biggest driving factors to find immediate and long-term success online. Throw animated video into the mix and you have a clear winner for success.
So now the question to ask is, why aren’t more people using autoresponders and animated video to increase sales? For the most part, the reason is that they simply don’t know how.
The good news is that we are going to cover the complete process in detail today. Follow the step-by-step process we’ve laid out for you below to create your first autoresponder mailing list series while using animated video to engage with your audience and convert them into paying customers.

How to Create an Autoresponder Series Using Animated Videos
Before going live with an autoresponder series, you will need to set a few things up. The first thing is to simply write down a list of how your autoresponder series should work — for example, your first email should welcome the user to your list and not try to sell them anything. The next follow up email might be on your best free content, then the 4th or 5th email might be a call-to-action for your audience to act upon. The goal of an autoresponder series is to stay in touch with the end user while gaining their trust and interest in the process. By the time they receive your 5th or 7th email, they should be very focused on taking action to purchase your product or service.
Once you have an idea on what your autoresponder content is going to look like, proceed with the following steps.
Step 1 – Create Your Content
The most important part of an autoresponder is the content found within the email of each message going out, and then the content on your landing pages (where the user is sent after they click the link in your first email). As explained above, most autoresponder series are set up for a 7-15 mailing schedule, usually sent out every few days to keep the conversation and engagement going.
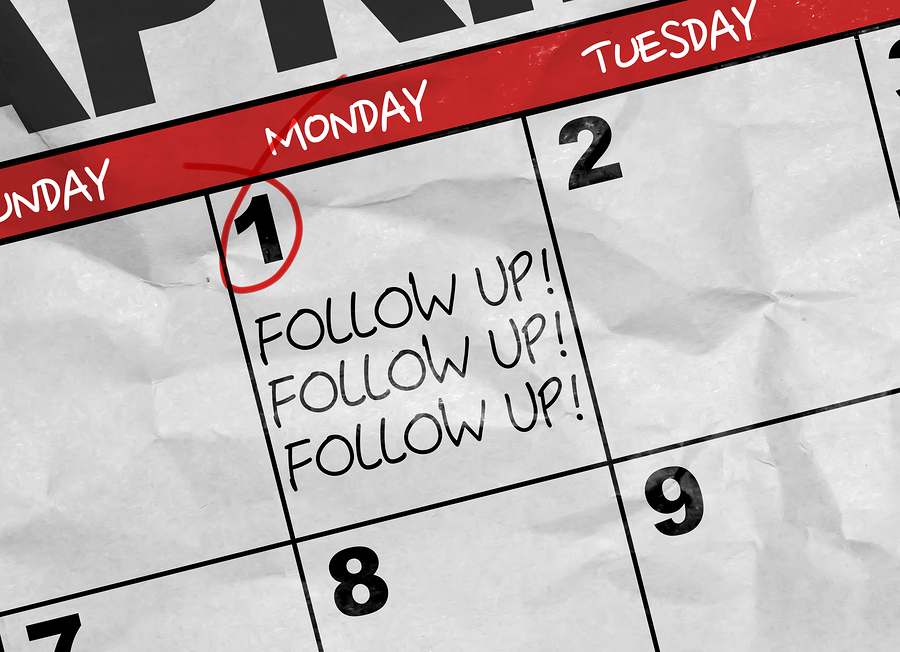
The focus here is to make sure you are always following up.
To help with this process, here is a typical format for an autoresponder schedule and a few topic/headline ideas:
- Day 1 – Welcome Email
- Day 3 – Quality Content
- Day 5 – Quality Content
- Day 7 – Example of Product in Action
- Day 9 – Testimonials or Case Study
- Day 11 – Call to Action for Lead/Sale
- Day 13 – Follow Up with Questions
Depending on the niche you are in, or what you are trying to accomplish with your mailing list, your results and setup will vary. However, the initial set up of an autoresponder series with the concept above is quite consistent by industry standards. Also, keep in mind that you will need to create original content and titles for each mailing based off the content on your landing pages.
Step 2 – Set Up Landing Pages
The landing page of your autoresponder series is the page the end user will end up on after they click a link within your individual day’s autoresponder email. This is where your automated video comes into play.
A great example of this would be if you had a branding or logo design website and wanted to offer your audience premium content in exchange for them joining your mailing list. Instead of reading the content on your site and only having access to text content, through your autoresponder series you could provide them with animated videos made up of your best content.
Below the video on your landing page, you would then have a call to action for the individual to complete a task or make a purchase. The important thing to remember here is to provide value to your audience within these autoresponder emails and videos, and not trying to push them with hard sales and advertisements. This is a process of gaining trust and pre-selling to your subscribers before the sale takes place.
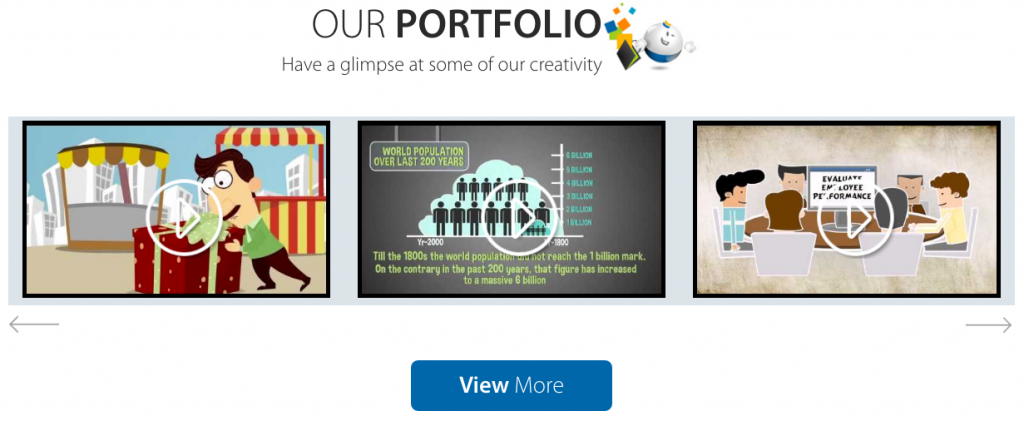
For even more ideas on how you can use video within your content marketing and autoresponder series, be sure to look through our video portfolio.
Step 3 – Setup a Mailing List
The next step in the process is to create a mailing list. A list hosting service such as Aweber or MailChimp will store all of the subscribers on your mailing list, your email content, and autoresponder data. This means you will only need to set this process up once, and no matter when someone joins your mailing list, they will receive the same emails every other day (or in your set schedule) as everyone else. This is a perfect example of automated marketing at it’s finest.
Setting up a mailing list or autoresponder can be a whole guide in itself, so we will leave that to the list hosting providers to help you out with.
Step 4 – Create a Call to Action
Having a call-to-action is key to the performance of your autoresponder and getting people to join your mailing list. For example, if you had a website and a form that said ‘Join our Newsletter”, almost no one is going to sign up for it. A headline like that really provides no value and the last thing your audience wants is another email clogging up their inbox.
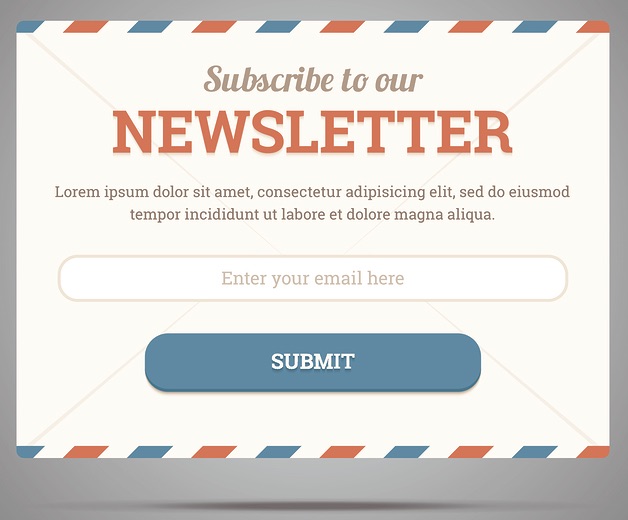
Instead, what site owners and marketers need to do is create original and premium content to incentivize this process. The example above of turning your content into a video is a perfect example of this. You can view a list of email form headlines different sites are using to get people to join their mailing lists. Before going live with your mailing list and autoresponder series, make sure you have something of value to offer to your audience in exchange for them joining your list — it will greatly improve your signup conversions.
Step 5 – Go Live with Your Autoresponder Series
The last step in the process is to actually go live with your autoresponder and placing a signup form on your site. Once people start to sign up for your autoresponder series, you can then log into your list hosting company and view stats on daily signups, email opens, click rates and how many people are signing up for your end offer.
Before placing the signup form on your site, be sure all of the elements and steps above are complete. The animated videos used on your landing pages are one of the most important components of your autoresponder series, as they are going to bring your content to life — so make sure they are loading at all times. If you aren’t going to use a site like YouTube to host your video content, you should also consider a premium Vimeo account. The last thing you want is for someone to join your autoresponder series, then quit because they couldn’t load your video.
Outsource Your Animated Video Content to Save Time
Content creation is one of the most time-consuming aspects of running a business online. What many brands and business owners struggle with, is realizing when and where they should be spending their time and focus. If you know nothing about video creation, this isn’t something you should try on your own — even just from a time and learning aspect, it can take forever.

A better solution is to partner with video and design experts that have years of experience and know how to create exactly what you want. This is where AnimatedVideo.com comes into play. We’ve helped thousands of clients from around the world turn their boring text content, into animated videos that convert like nothing else.
Contact our design team today and let us provide you with an estimate on outsourcing your video work, while also helping with all of your marketing and promotional material as well.

